A very delicious tray of Kueh Koci was catered in for Momsie’s grand birthday a few months back. Pure white glutinous rice dough wrapped in white grated coconut, not the usual pandan dough with palm sugar coconut fillings. I thought it delicious and pretty.
But, I was told by everyone at the dinner that the best kueh koci are the ones made by my Momsie. Since she was the birthday girl, the family did not want her to sweat and labour the entire day to prepare any dishes; all food served that night was catered.
I don’t get to eat this kueh very often these days. Even if I do get to buy them, I find that they do not taste as good as the ones that I had tried when I was a little kid. Their glutinous rice skin tend to be harder and the fillings too sweet.
Luck was on my side, Agnes was craving for some and Momsie quickly volunteered to make them last Saturday. It was served as dessert over a luncheon set for Stevie’s parents to meet my parents. Bad me, the last time our parents met was during our wedding dinner banquet, some 16 months back.

Both my beautiful mothers.

Agnes Chan enjoying Momsie’s Kueh Koci.
Recipe for Kueh Koci
INGREDIENTS:-
Glutinous Rice Dough
Makes about 20 pillows of Kueh Koci
- 500 gm glutinous rice flour
- 2 tablespoon thick coconut milk
- salt
- natural pandan juice for colouring
- bunga telang juice for colouring
Filling:
- 225 white granulated sugar/palm sugar
- 225 gm grated white coconut
- salt
- 125 gm water
- banana leaves for wraps
- 1 tablespoon of vegetable oil

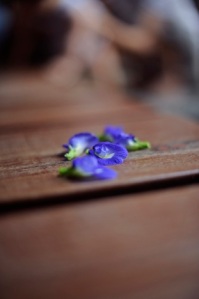
I laughed so loud when I found out the scientific name for bunga telang. Clitoria Ternatea, a named so inspired obviously by its shape . Anyway, the bunga telang plants are readily available in Momsie and Agnes sporadic gardens. They are organic food colouring and definitely handy in making Peranakan Kuehs. In Malacca, old folks plant them abundantly, collect and dry them to be sold at RM10 per 100 gram. Definitely not the crop to consider if you want to be ultra rich in a fast manner.
The great debate, simple white sugared grated coconut or the popularly accepted palm sugared grated coconut?
I was playful. I tried both as an experiment so that I could decide objectively.
I am voting for the white grated coconut for taste, whilst I think palm sugared grated coconut makes a prettier and more inviting cake. However, I suggest that one can be creative by using pandan flavoured and coloured glutinous dough or the clitoria blue with pandan green glutinous dough to complement the white coconut fillings.
You get pretty food when you are prepared to labour.

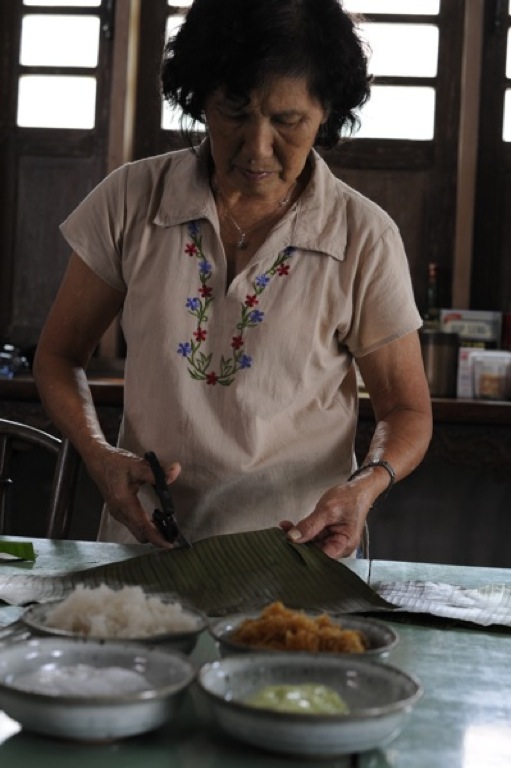
Momsie preparing the torched banana leaves into decent sizes for wrapping.
Momsie is a great teacher. She encourages me to do it with her, giving tips and guidance each and every step of the way. Honestly, I struggled trying to fold them into tidy pillows. It looked easy but I surely need to practice this more often.
- Torch the bottom of the banana leaves on top of a gas burner, glide it under a moderate heat.
- Wipe it clean on both sides and cut it into 30 cm by 30 cm pieces for wrapping.
- Place knotted screwpine leaves, sugar and water in a saucepan and bring to a boil to dissolve the sugars. Continue cooking until you get a thick syrup.
- Add the white grated coconut and lower the heat.
- Pour glutinous rice flour, some water, thick coconut milk and salt and start kneading.
- Continue to pour water till you get dough to a right consistency.
- Thumb rule, too soft to roll into balls without oil. The texture will be too hard if you can without oil.
- Scoop out some dough to prepare the colour dough of desired quantities.
- Oil the banana leave.
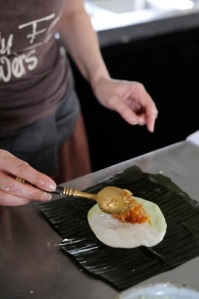
- Place a scoop of plain dough, flatten it out but not too thin that fillings can leak out.
- Wrap the dough up as if you are wrapping a pao dough. Round the edges with your palms.
- Fold and wrap them into small tortoise pillows.
- Steam for 10 minutes.


